programming from the keypad
-
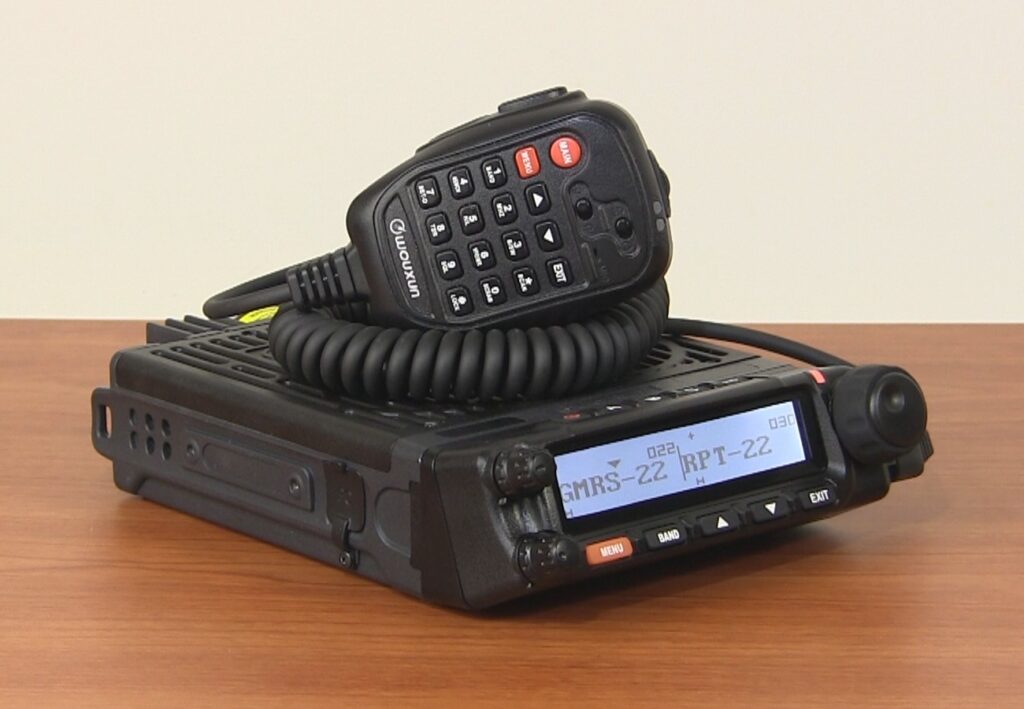
How to program a channel into the Wouxun KG-1000G
Programming a Wouxun KG-1000G or KG-1000M mobile radio from the keypad seems complicated, but It’s really quite easy. You just need to follow these simple steps. -
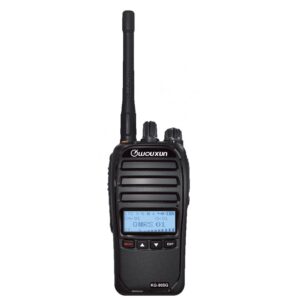
Wouxun KG-905G programming and menu options
The KG-905G is a very powerful GMRS radio that is highly functional, yet easy to operate. It’s also user programmable with optional programming software. Here is an overview of its programming and menu options. -
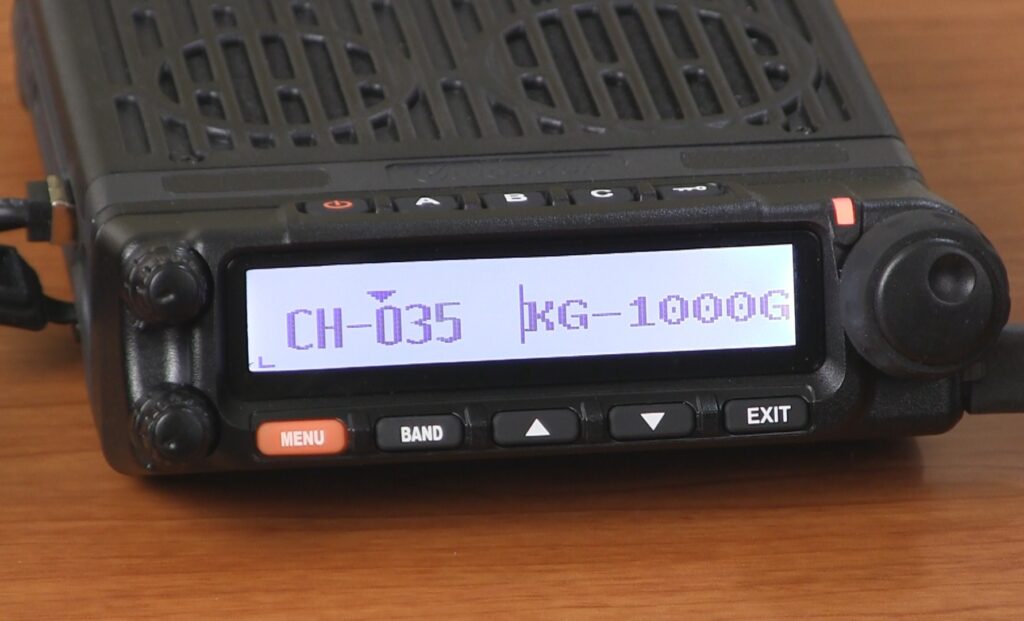
Wouxun KG-1000G programming and menu options
Programming The Wouxun KG-1000G mobile GMRS radio may seem daunting at first, but it is actually a relatively simple and straightforward process. Here’s how to do it directly from the radio itself. -
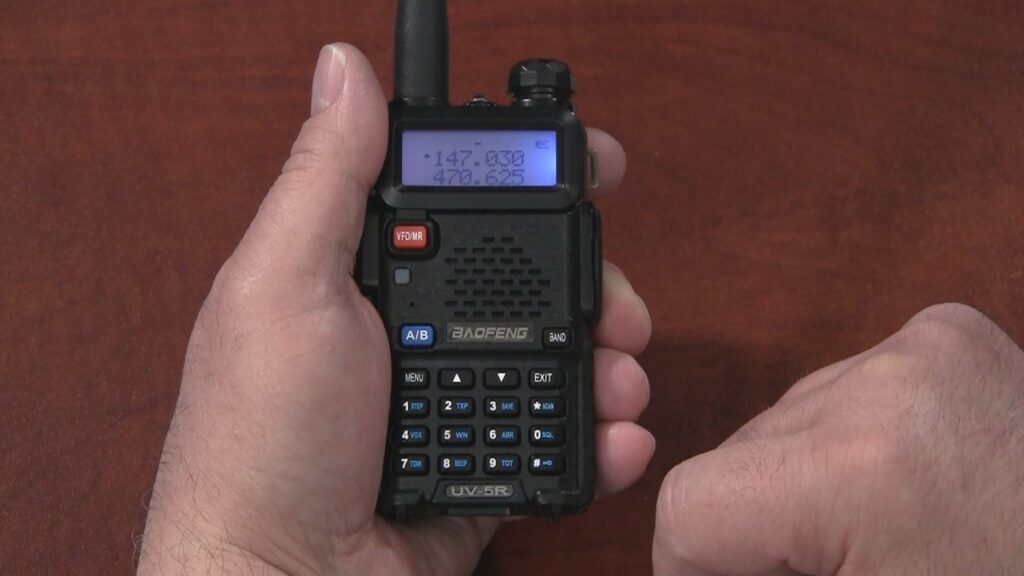
Radio 101 - How To Program the Baofeng UV-5R From the Keypad
In this video, Rick shows you how to program a simplex channel into the Baofeng UV-5R. It’s actually quite easy, once you know how it’s done. The best part? You don’t have to try to figure it out yourself from the original manual.