programming cable
-
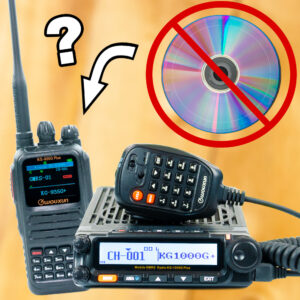
Why Wouxun GMRS radios do not include programming cables and software
We get this question from customers who receive their new Wouxun GMRS radio, open the box and find that they aren’t in the package. The answer is simple. they aren’t needed. Here’s why. -

How to fix issues with the TYT MD-UV390 Plus Programming Cable
In this video tutorial, Steven from shows how to fix the connectivity issue with the TYT-PROG Programming cable when using it with the TYT-MD-UV390 Plus. -

How to download the driver for Wouxun Two Way Radio Programming Cables
If you are Installing a Wouxun programming cable in a computer running Windows 11, follow the instructions in this video before attempting to install the cable or plug it into the computer for the first time. -
Why your radio programming cable may not work
If your programming cable won’t work, it’s usually due to one or more of following reasons. -

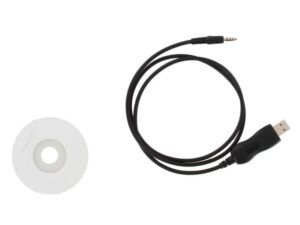
How to install the Wouxun programming cable and driver
Having trouble installing some of the Wouxun programming cables in a Windows 10 PC? Installing the driver from the mini-cd that comes with the cable does not resolve the issue. Here is how to fix it. -
What to do if the programming cable does not work
Follow these steps to properly install and resolve issues with two way radio programming cables and drivers. -
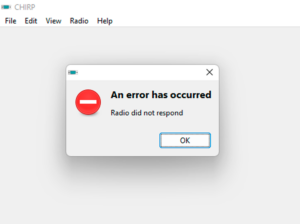
What to do if the radio programming software does not detect the cable or COM port
Here are the steps to troubleshoot if the programming software for your two way radio does not recognize the COM Port or the programming cable purchased from Buy Two Way Radios.